Appearance
Getting Started with Memos
Memos is a self-hosted note-taking service designed for capturing thoughts, ideas, and references in a fast, private environment. This guide walks you through your first steps.
Creating an Account
To begin using Memos, navigate to the sign-in page. You have two options:
- Sign in [1] with an existing account using your username and password
- Sign up [2] to create a new account if this is your first time
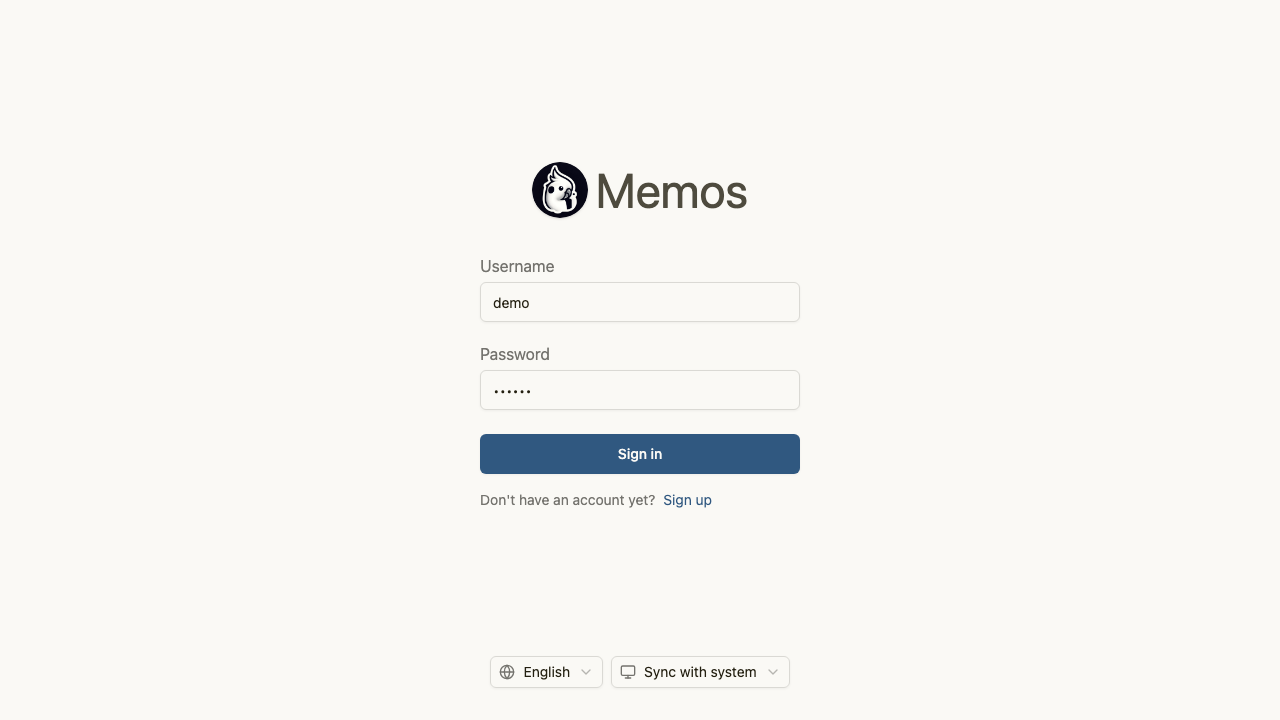
You can also choose your preferred language [3] from the dropdown menu at the bottom of the sign-in page, and toggle between light and dark mode using the theme sync [4] button.
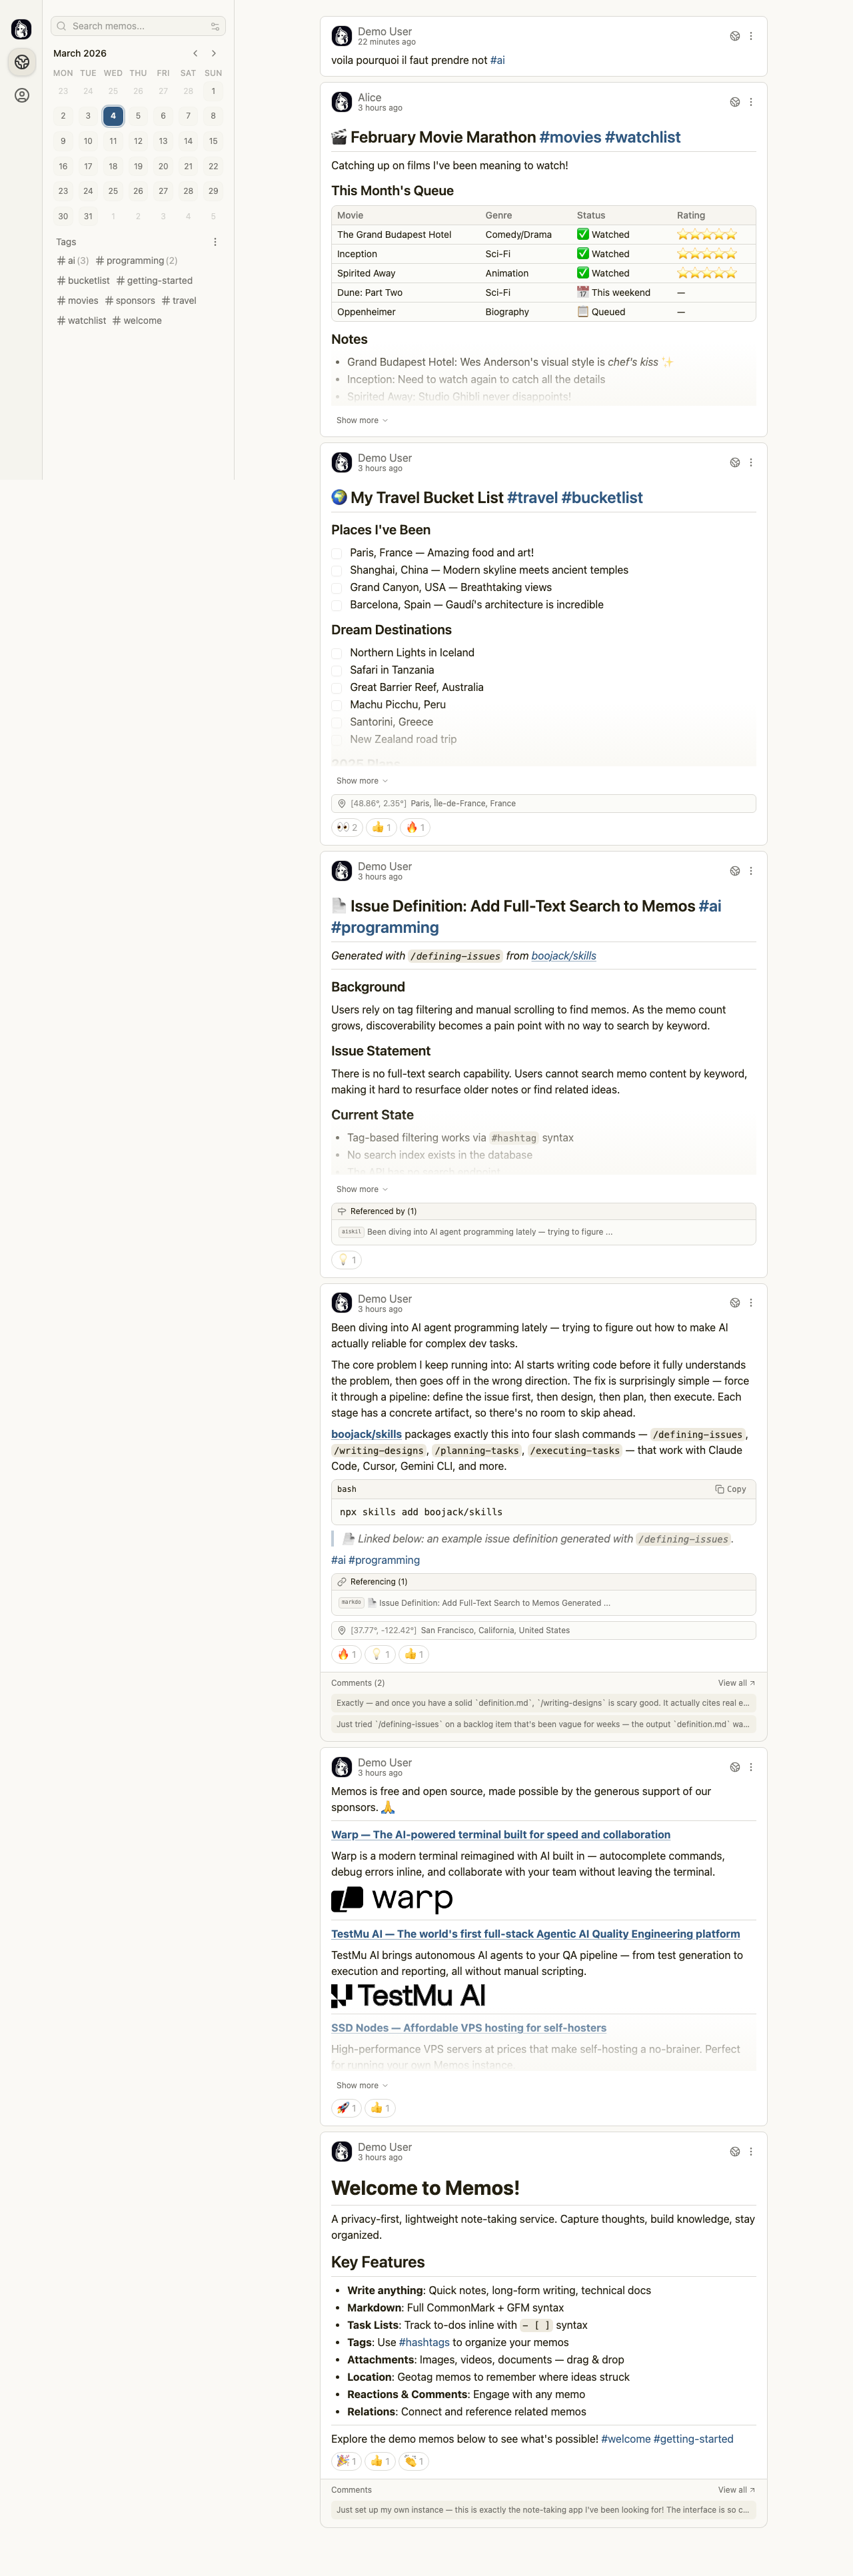
Your Home Feed
After signing in, you arrive at the home feed. This is your central hub where all your memos appear in reverse chronological order. The layout includes:
- A calendar widget [1] on the left sidebar showing your activity patterns
- Your memo timeline in the center, displaying each memo with its author, timestamp, and content
- Tag filtering in the left sidebar to narrow down memos by topic
Each memo in your feed supports Markdown formatting, including headings, lists, code blocks, links, and images. You can expand longer memos by clicking the Show more button [5] beneath truncated content.
Writing Your First Memo
To create a new memo, use the text input area at the top of your home feed. Type your content using Markdown syntax, add tags with the # prefix (for example, #ideas or #projects), and press the submit button to publish.
Memos supports inline hashtags that automatically become clickable, filterable tags. This means you can organize your notes without managing separate category systems.
Navigation
The left sidebar provides access to all major sections of the application. From here you can reach your personal feed, the Explore page for community content, your archived memos, inbox notifications, file attachments, and account settings.